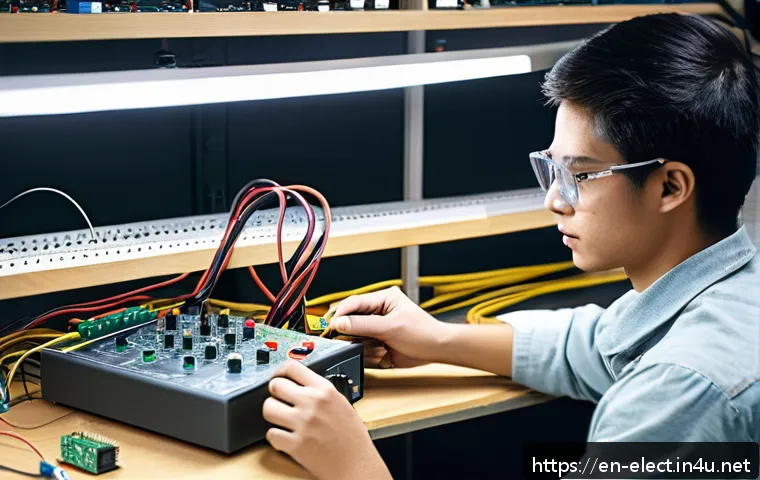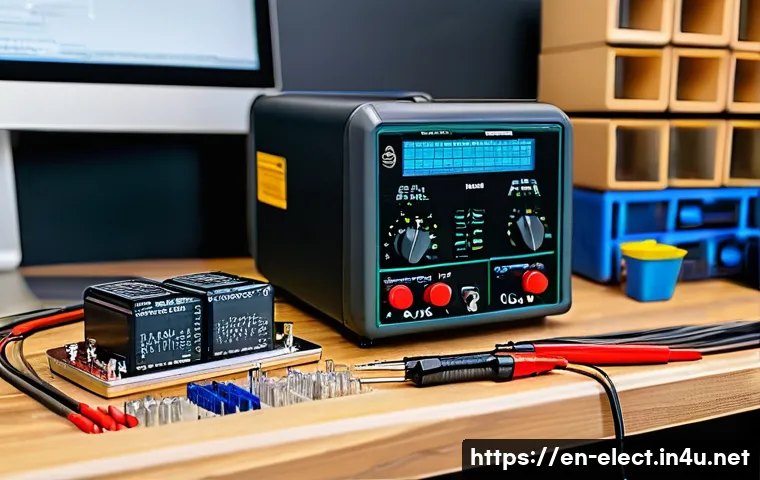
Preparing the right tools for an electronics practical exam can make all the difference between a smooth experience and unnecessary stress. Having a well-organized toolkit not only boosts your confidence but also helps you work more efficiently under time constraints.
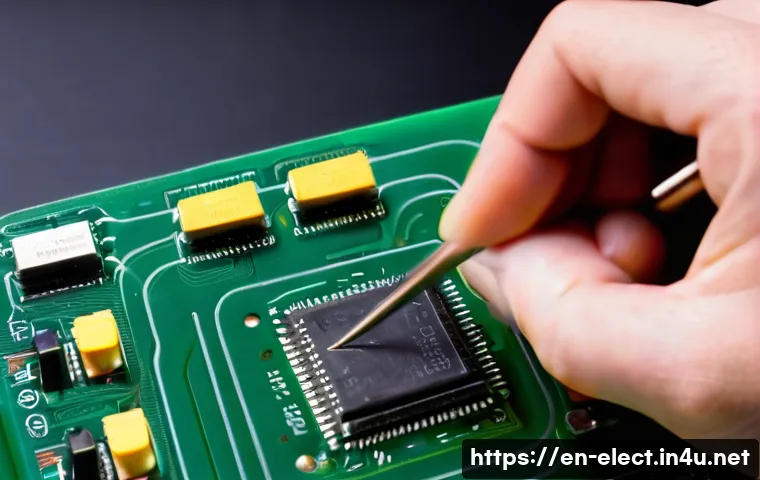
From multimeters to soldering irons, knowing exactly what to bring and how to use each item is essential. Many students overlook the importance of proper preparation, which can lead to avoidable mistakes.
Whether you’re a beginner or have some hands-on experience, getting your tools ready is the first step toward success. Let’s dive deeper and explore how to get fully equipped for your electronics practical exam!
Essential Measurement Instruments for Practical Exams
Multimeter: Your Best Friend in Troubleshooting
When I first started working on electronics practicals, the multimeter quickly became the tool I couldn’t live without. It’s incredibly versatile—allowing you to measure voltage, current, and resistance all in one device.
But here’s the catch: knowing how to set the right measurement mode and range is crucial. If you’re too rough or pick the wrong setting, you might damage the component or get inaccurate readings.
I recommend practicing with your multimeter ahead of time on different circuits. This builds confidence and helps you avoid fumbling during the exam. Also, remember to check your battery before the test to avoid sudden shutdowns.
Oscilloscope: Visualizing Signals Like a Pro
Oscilloscopes can intimidate beginners, but once you get the hang of it, they’re indispensable. They allow you to see waveform shapes, frequency, and amplitude in real time.
When I was prepping for my exam, I found it helpful to familiarize myself with the basic controls like time/div and volts/div. Also, using the probe compensation feature correctly makes a huge difference in signal accuracy.
A little tip: always start with the highest voltage range to protect your scope and then adjust downwards. Getting comfortable with triggering options helps capture stable waveforms, which can be a lifesaver during timed tests.
Soldering Tools: Precision and Safety Combined
Soldering irons are often underestimated but mastering them is key to neat and functional circuit assembly. In my experience, using a soldering iron with adjustable temperature control makes a big difference, especially when working with sensitive components.
Too hot, and you risk damaging the parts; too cold, and your joints won’t hold. Additionally, a good quality soldering stand and a wet sponge for cleaning the tip are essentials I always pack.
Practicing consistent soldering technique before the exam not only improves your speed but also ensures your connections are reliable.
Organizing Your Toolkit for Efficiency
Arranging Tools for Quick Access
One of the biggest lessons I learned is that a cluttered workspace slows you down. Before the exam, I lay out my tools in the order I anticipate using them.
For example, I keep the multimeter and probes within arm’s reach, soldering iron on a stable stand nearby, and all spare parts sorted in small containers.
This setup prevents wasting precious minutes digging through a messy bag. It’s like setting up your own mini workbench — efficient and stress-free.
Checklist for Last-Minute Verification
Creating a checklist was a game changer for me. I jot down every essential item: from the multimeter leads, solder wire, tweezers, to spare fuses and batteries.
Before heading to the exam, I double-check the list. This habit helped me avoid those “oh no” moments where I realized I forgot something critical. It’s also smart to pack a small flashlight and a magnifying glass for inspecting tiny components or solder joints.
Carrying Cases That Protect and Organize
A sturdy carrying case is more than just a bag; it’s protection for your delicate equipment. I personally prefer cases with custom foam inserts that snugly hold each tool.
This prevents damage during transport and keeps everything in place. Some cases also feature zippered compartments for small parts like resistors or capacitors.
Investing in a good case means you won’t have to worry about broken probes or lost screws right before your practical exam.
Understanding Essential Components to Bring Along
Common Components for Circuit Assembly
While the exam usually provides some components, having a small personal stash of commonly used parts can be handy if allowed. Resistors, capacitors, LEDs, and jumper wires are staples.
When I prepared, I categorized these by value and type, making it easy to grab the right one quickly. Knowing the color code for resistors helped me pick the correct parts without hesitation, saving valuable time.
Spare Parts for Unexpected Issues
Sometimes, a component might fail or not work as expected. Carrying spares like extra fuses, transistors, or ICs gave me peace of mind during exams. I once had a transistor burn out mid-task, and having a backup saved me from starting over.
Always check exam guidelines to confirm which personal components are permitted, but when possible, come prepared for the unexpected.
Tools for Component Handling and Testing
Tweezers, wire strippers, and small screwdrivers are often overlooked but crucial for handling tiny parts and making precise adjustments. I remember how using proper wire strippers made my wiring neat and consistent, which examiners appreciate.
Also, a pair of needle-nose pliers can help in bending leads or holding components steady while soldering.
Mastering Cable and Wire Management
Choosing the Right Wires
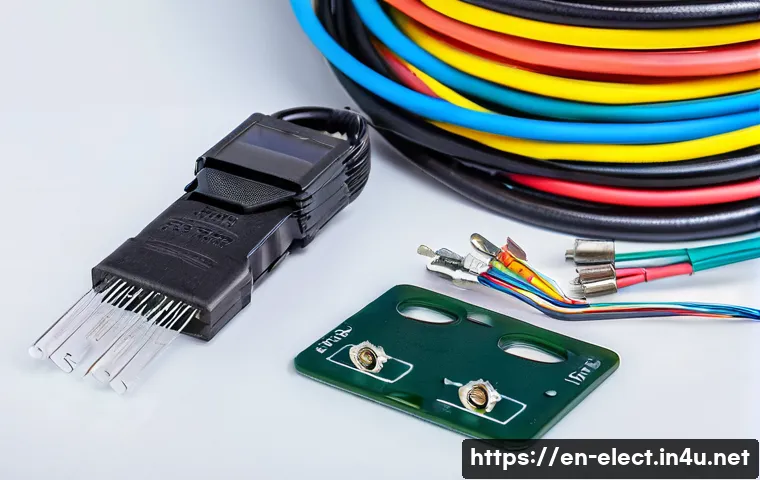
Not all wires are created equal. I learned that using wires with proper gauge and insulation is important for safety and signal integrity. For practical exams, 22 to 24 AWG solid core wires are usually ideal for breadboarding.
Having a variety of colors helps in identifying connections quickly, which reduces confusion during complex circuits.
Labeling and Organizing Connections
Labeling wires might sound tedious, but it pays off. Before starting the exam, I label both ends of each wire with tape or small tags. This little step helped me trace circuits faster and troubleshoot without guessing.
It also makes your work look professional, which can subtly impress examiners.
Preventing Tangling and Damage
Wire tangling wastes time and can cause accidental disconnections. I recommend bundling unused wires with twist ties or Velcro straps. Also, avoid sharp bends or stretching wires too tightly, as this can damage insulation.
Keeping your cables neat not only looks good but also ensures reliable connections throughout the exam.
Essential Safety Gear and Practices
Protecting Yourself and Your Equipment
Safety should never be overlooked. Wearing safety glasses is a must when soldering or working with live circuits. I once had a solder splash that could have seriously hurt my eye, so having glasses saved me from a painful injury.
Also, make sure your workstation is well ventilated to avoid inhaling solder fumes.
Proper Handling of Electrical Components
Electrostatic discharge (ESD) can destroy sensitive electronics. Using an anti-static wrist strap or mat helps protect your components. I remember during one exam prep, a single static shock fried a microcontroller, and I had to start over.
Taking a few seconds to ground yourself is a small effort that pays huge dividends.
Safe Soldering Techniques
Always place your soldering iron on a stand when not in use and avoid touching the heated tip. I’ve burned myself more times than I’d like to admit, and it’s not just painful but also distracting during a test.
Use heat-resistant mats and keep your workspace free of flammable materials. These habits keep your focus on the task, not on avoiding burns or accidents.
Comparison of Must-Have Tools and Their Functions
| Tool | Main Function | Why It’s Essential | Tips for Use |
|---|---|---|---|
| Multimeter | Measures voltage, current, resistance | Versatile; helps diagnose circuits quickly | Practice settings; check battery; start with highest range |
| Oscilloscope | Visualizes electrical signals/waveforms | Critical for analyzing signal behavior | Familiarize controls; use probe compensation; adjust trigger |
| Soldering Iron | Joins components with solder | Essential for assembling circuits securely | Use adjustable temperature; clean tip; steady hand |
| Tweezers | Handles small components | Improves precision; prevents damage | Use fine tips; keep clean |
| Wire Strippers | Removes insulation from wires | Ensures clean, reliable connections | Match wire gauge; avoid nicking wire |
| Anti-static Wrist Strap | Prevents electrostatic discharge | Protects sensitive components | Wear properly; ground yourself before handling |
Tips for Maintaining Focus and Reducing Exam Stress
Practice with Your Own Toolkit
I can’t stress enough how practicing with your actual toolkit builds muscle memory and reduces anxiety. When you’re familiar with your tools’ feel and operation, you move faster and make fewer mistakes.
Set up mock circuits and time yourself. This practice makes the exam feel less like an unknown challenge and more like a routine task.
Break Tasks into Manageable Steps
During the exam, it’s easy to feel overwhelmed by the number of tasks. I found that breaking down the process into smaller chunks—like measuring, wiring, soldering—helps keep my mind clear.
Checking off each step mentally or on paper keeps you organized and ensures you don’t miss critical details.
Stay Calm and Don’t Rush
Even with limited time, rushing leads to sloppy work and errors. I remind myself to breathe and focus on accuracy first, then speed. Sometimes slowing down a bit actually saves time by avoiding rework.
Trust your preparation and toolkit; calm confidence goes a long way toward success.
Conclusion
Mastering essential measurement instruments and organizing your toolkit efficiently can make a significant difference in your practical exam performance. By practicing with your tools and preparing for unexpected issues, you’ll gain confidence and reduce stress. Remember, safety and precision go hand in hand for successful circuit work. Stay calm, stay focused, and trust your preparation to excel.
Useful Tips to Keep in Mind
1. Always test and familiarize yourself with your multimeter and oscilloscope before the exam to avoid surprises.
2. Keep your workspace neat and arrange tools for easy access to save valuable time.
3. Carry spare components like fuses and transistors to handle unexpected failures.
4. Label wires clearly to speed up troubleshooting and improve the professionalism of your work.
5. Practice safe soldering and use protective gear to prevent injuries and damage to components.
Key Takeaways
Preparation is more than just knowing your theory; it’s about hands-on practice with your tools and components. Organizing your equipment thoughtfully helps maintain efficiency and reduces exam-day anxiety. Prioritize safety measures to protect yourself and your work. Lastly, managing your time calmly and methodically ensures accurate, high-quality results under pressure. These strategies combined will set you up for success in any practical electronics exam.
Frequently Asked Questions (FAQ) 📖
Q: What are the essential tools I should bring to an electronics practical exam?
A: At a minimum, you’ll want a reliable multimeter, a soldering iron with a fine tip, wire cutters, tweezers, and a set of precision screwdrivers. Personally, having a small toolkit with extra components like resistors, capacitors, and jumper wires saved me when unexpected tasks popped up.
Also, don’t forget a clean workspace mat and some flux—it makes soldering so much smoother and helps avoid mistakes under time pressure.
Q: How can I make sure I’m efficient with my tools during the exam?
A: Efficiency comes from familiarity. I recommend practicing with your exact tools before the exam day. For example, spend some time soldering and measuring circuits to build muscle memory.
Organize your tools in a way that feels natural—maybe arrange them by task or frequency of use. When I did this, I found it reduced fumbling around and helped keep my focus sharp, especially when the clock was ticking.
Q: What common mistakes should I avoid when preparing my toolkit for the exam?
A: One big mistake is overpacking or bringing unfamiliar tools. It’s tempting to bring everything “just in case,” but that can clutter your workspace and slow you down.
Another is neglecting to check if your tools are working properly beforehand—imagine reaching for your multimeter only to find the battery dead! Lastly, skipping on practicing with your tools can lead to fumbling during the exam.
I learned the hard way that preparation isn’t just about having the tools, but knowing how to use them confidently.