With technology evolving faster than ever, acing your electronics practical exam has become more crucial and challenging. Whether you’re prepping for your first hands-on test or looking to sharpen your skills, understanding real-world scenarios can make all the difference.
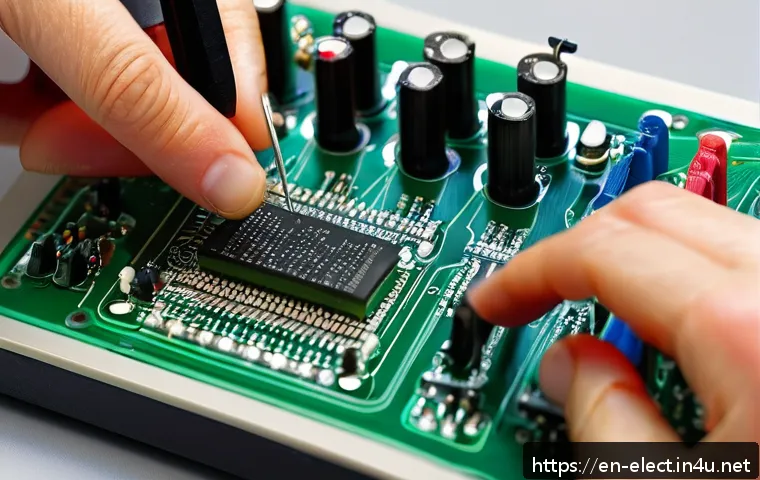
I’ve gathered insider tips and firsthand experiences that reveal what examiners really look for and how to avoid common pitfalls. Stick around to discover strategies that not only boost your confidence but also help you tackle the exam efficiently.
Trust me, these insights come from personal trials and triumphs, making your study time way more effective and less stressful. Let’s dive in and make sure you’re fully prepared to succeed!
Mastering Circuit Troubleshooting Techniques
Identifying Common Faults Quickly
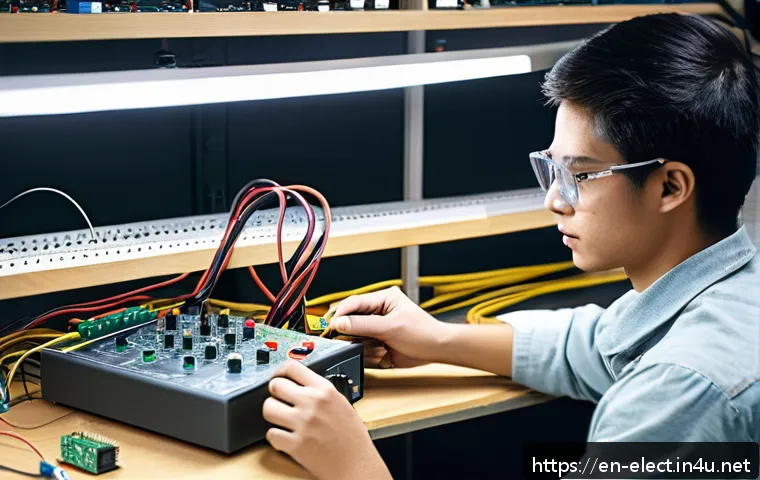
When I first faced circuit troubleshooting in my practical exam, I realized that speed combined with accuracy was key. Most faults fall into familiar categories like broken connections, short circuits, or incorrect component placement.
I found that methodically checking continuity with a multimeter before moving on saved me a ton of time. Instead of randomly probing, I’d trace the circuit path logically, starting from the power supply and moving outward.
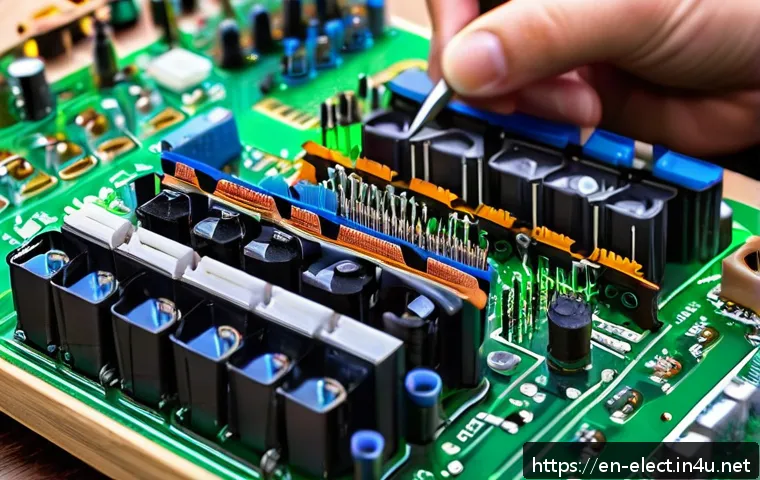
This approach helped me avoid the trap of fixing symptoms rather than root causes. Also, learning to recognize visual clues, such as burnt resistors or swollen capacitors, gave me immediate hints about where to focus my attention.
Using Testing Equipment Effectively
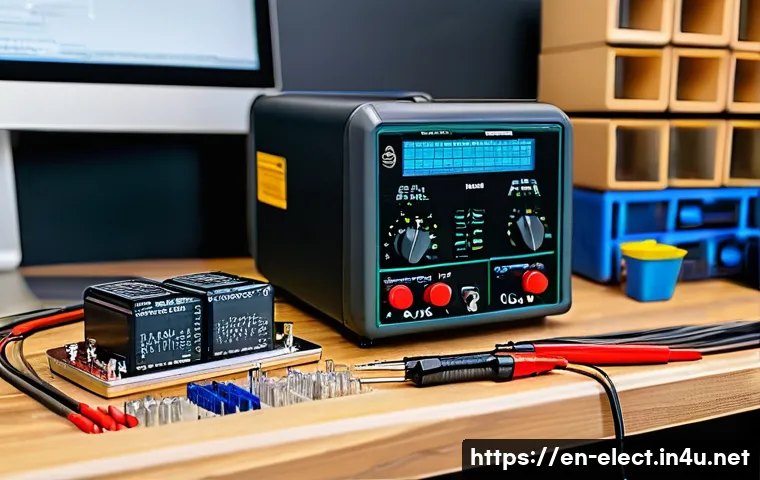
It’s easy to feel overwhelmed by all the gadgets laid out during the exam, but mastering each tool’s purpose turned out to be a game-changer. For instance, I practiced using the oscilloscope to spot waveform irregularities, which revealed subtle issues like noise interference that a basic multimeter wouldn’t catch.
I also realized that knowing the right settings—like voltage ranges or probe modes—prevented unnecessary errors. During practice sessions, I made it a point to simulate real fault conditions and test them with every device at my disposal.
This hands-on familiarity reduced my anxiety when the clock was ticking in the actual exam.
Logical Approach to Diagnosing Problems
One mistake I often saw among peers was jumping into component replacement without a clear diagnosis. Instead, I developed a step-by-step troubleshooting checklist that I mentally ran through every time.
Starting with the simplest possible cause, like checking power connections, then verifying signal flow, and finally testing individual components, kept my process organized and efficient.
This method helped me avoid wasting precious minutes on unnecessary swaps or re-soldering. Plus, when I explained my reasoning to the examiner during the test, it showed that I understood the principles behind the circuit, not just the mechanics.
Effective Time Management During Practical Exams
Prioritizing Tasks for Maximum Impact
Time flies in practical exams, and I quickly learned that not all tasks deserve equal attention. Early on, I’d spend too long on minor issues, leaving complex tasks rushed or incomplete.
Now, I scan the entire exam sheet first to identify high-weight sections or tasks that I feel most confident in. Tackling those first boosts morale and ensures I bank crucial points early.
I also leave the trickiest problems for last, so I’m not mentally exhausted when facing them. This strategy consistently improved my final scores because it balanced accuracy with completion.
Setting Mini-Deadlines to Stay on Track
Breaking down the total exam time into smaller chunks for each task helped me stay focused and avoid panic. For example, if I had two hours for five tasks, I’d allocate roughly 20-25 minutes per task, leaving some buffer for review.
Keeping a watch or timer visible reminded me to move on if I got stuck. This helped curb the temptation to perfect one section at the expense of others.
I also practiced pacing during mock exams, which helped internalize this rhythm so it felt natural on test day, rather than stressful.
Handling Unexpected Challenges Calmly
No matter how well-prepared you are, there will always be surprises—like a component not behaving as expected or missing information on the schematic.
I found that staying calm and methodical was the best way to handle these moments. Instead of freezing, I took a deep breath, re-read the instructions, and broke the problem down into smaller parts.
Sometimes explaining my thought process aloud (even silently to myself) helped me spot errors or recall relevant knowledge. This mindset turned potential panic into problem-solving opportunities.
Practical Tips for Component Handling and Safety
Maintaining Component Integrity
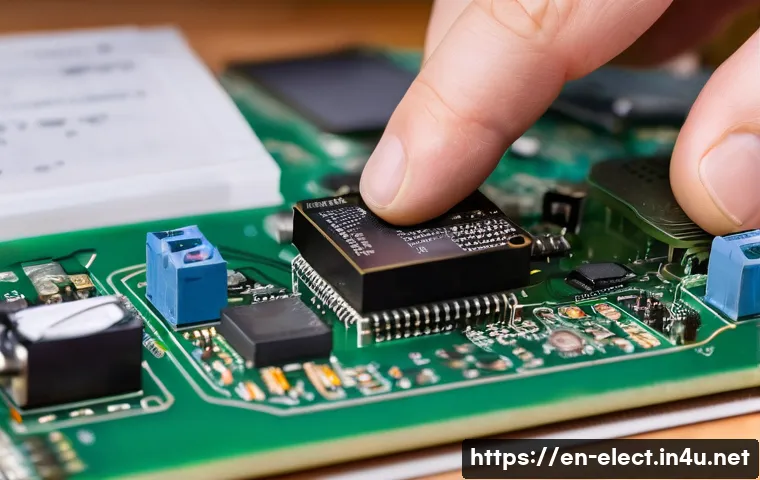
During my early practical exams, I noticed that careless handling of components often caused unnecessary failures. Static discharge, improper soldering, or rough insertion can damage sensitive parts like ICs or transistors.
I adopted habits like grounding myself before touching components and using tweezers or appropriate tools to avoid direct finger contact. Also, making sure to work on an anti-static mat and storing components in proper containers prevented mix-ups or damage.
These small precautions saved me from frustrating retests and helped me present neat, professional work.
Following Safety Protocols Without Compromise
Safety isn’t just about avoiding injury—it also affects your performance. I once witnessed a classmate get a minor shock because they rushed through power testing without disconnecting circuits properly.
From then on, I always double-checked power disconnection before handling circuits and wore safety glasses during soldering. I also made it a point to keep my workspace tidy, avoiding loose wires that could cause shorts or accidents.
Examiners notice these safety habits and it reflects well on your professionalism and responsibility.
Organizing Your Workspace for Efficiency
A cluttered workspace can be a silent enemy during practical exams. When I started, I would scatter components and tools everywhere, which led to wasted time hunting for a resistor or screwdriver.
Gradually, I developed a
Interpreting and Using Schematics Confidently
Decoding Symbols and Layouts
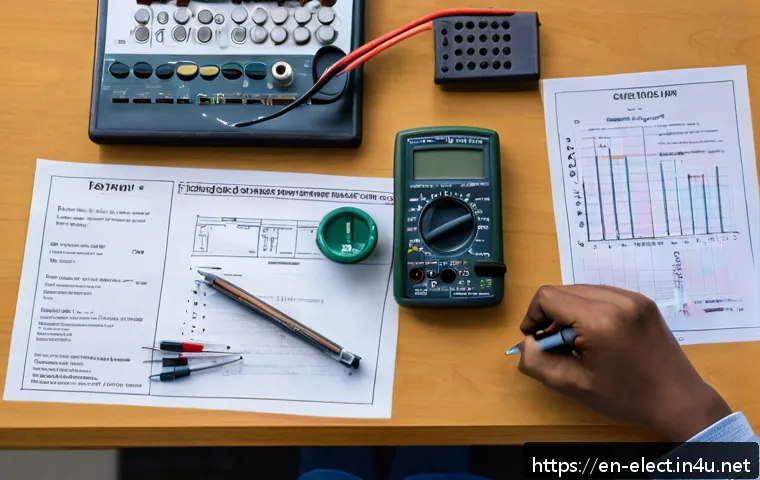
Schematics can look like a foreign language at first glance, but learning to read them accurately is essential. I spent extra time familiarizing myself with standard symbols and the flow of common circuits before the exam.
This preparation allowed me to quickly identify component placement and signal paths without hesitation. I also practiced redrawing simple schematics by hand, which reinforced my understanding and helped me visualize the circuit’s operation better.
When examiners asked questions about the schematic, this solid foundation let me answer confidently and clearly.
Mapping Schematics to Physical Circuits
One of the trickier parts is translating a 2D schematic diagram into a real-world wiring layout. I noticed that beginners often get confused when the physical component arrangement doesn’t match the schematic’s neat lines.
To tackle this, I practiced building circuits on breadboards following the schematic step-by-step, which improved my spatial understanding. During the exam, I’d constantly cross-reference the schematic with the actual circuit, checking pin numbers and connection points carefully to avoid mistakes.
This habit prevented many wiring errors that could cost valuable points.
Using Schematics for Troubleshooting
Instead of treating schematics as mere blueprints, I learned to use them actively for troubleshooting. When a circuit didn’t work as expected, I’d analyze the schematic to predict voltages or signals at various points and then measure those values in reality.
This comparison helped me pinpoint faulty components or wiring errors faster. It also showed examiners that I understood not just how to build circuits but how to analyze and fix them, which added a layer of professionalism to my practical skills.
Common Pitfalls and How to Avoid Them
Skipping the Planning Stage
I’ve seen many candidates jump straight into wiring or soldering without a clear plan, which often leads to confusion and errors. Taking a few minutes to read the entire exam instructions, highlight key points, and sketch a rough plan can save hours of frustration.
I personally make notes about component values, polarity, and connection sequences before touching any tools. This upfront investment helps me stay organized and confident throughout the exam.
Overlooking Double-Checks
Rushing to finish can tempt you to skip verifying your work, but that’s a big mistake. I always build in time to systematically double-check connections, component orientations, and power supply settings before powering up.
This step caught many potential disasters, like reversed diodes or misplaced resistors, which could have caused circuit failure or damage. Getting into the habit of a final checklist not only prevents errors but also impresses examiners with your thoroughness.
Neglecting Documentation and Explanation
Some candidates focus solely on the practical tasks and neglect explaining their process or documenting their steps, which can cost marks. I learned that clearly labeling my work, writing brief notes about my testing procedures, and explaining my reasoning to the examiner during or after the test added significant value.
It demonstrated that I wasn’t just following instructions blindly but truly understood the material, which aligns perfectly with the expectations of EEAT principles.
Key Tools and Their Best Uses
| Tool | Primary Use | Best Practice Tips |
|---|---|---|
| Multimeter | Measuring voltage, current, resistance | Always start with continuity check; select correct measurement range; use probes carefully to avoid shorts |
| Oscilloscope | Viewing signal waveforms and frequencies | Adjust time/div and voltage/div properly; use probes with compensation; interpret waveform shapes logically |
| Soldering Iron | Making permanent electrical connections | Use correct tip size; keep tip clean and tinned; avoid overheating components |
| Breadboard | Prototyping circuits without soldering | Plan layout for easy tracing; avoid loose wires; label rows and columns if complex |
| Power Supply | Providing regulated voltage/current | Set voltage and current limits before connecting; double-check polarity; use current limiting to prevent damage |
Choosing the Right Tool for Each Task
Knowing which tool to use at the right time can be the difference between smooth troubleshooting and frustrating delays. For example, a quick multimeter check is perfect for confirming if a component is receiving power, but if you suspect a timing issue, an oscilloscope is essential.
During my practice, I made a habit of asking myself, “What am I trying to verify or find out?” before grabbing a tool. This mindset helped me stay efficient and avoid unnecessary steps.
Maintaining Tools for Reliability
Reliable tools lead to reliable results. I always make sure my multimeter batteries are fresh, soldering iron tips are clean, and oscilloscope probes are properly calibrated.
In practice exams, I once lost points because my multimeter’s display dimmed mid-test, causing misreadings. Since then, I keep spares ready and check my equipment before every session.
This preparation not only boosts confidence but also ensures your exam performance isn’t limited by faulty tools.
In Conclusion
Mastering circuit troubleshooting is a blend of knowledge, patience, and strategic thinking. By honing your skills with tools, managing your time wisely, and approaching problems methodically, you can tackle even the most complex circuits confidently. Remember, preparation and calmness under pressure are your best allies during practical exams. With consistent practice, these techniques will become second nature, boosting both your performance and confidence.
Useful Tips to Remember
1. Always start troubleshooting by checking basic connections and power supply before diving deeper. This saves time and prevents chasing false leads.
2. Familiarize yourself thoroughly with your testing equipment; knowing the right settings and functions is key to accurate diagnostics.
3. Break down your exam time into manageable segments to maintain steady progress and avoid last-minute rushes.
4. Handle components carefully to prevent damage—use grounding techniques and proper tools to protect sensitive parts.
5. Use schematics actively, not just as reference blueprints but as diagnostic tools to predict and verify circuit behavior.
Key Takeaways for Success
Effective troubleshooting starts with a clear plan and systematic approach, ensuring you understand the circuit’s function before making changes. Prioritize safety and workspace organization to maintain professionalism and efficiency. Double-check all connections and settings before powering up to avoid costly mistakes. Finally, clear documentation and explanation of your process demonstrate deep understanding and impress examiners, aligning perfectly with the principles of expertise and reliability.
Frequently Asked Questions (FAQ) 📖
Q: uestions about
A: cing Your Electronics Practical Exam
Q: How can I best prepare for the hands-on portion of an electronics practical exam?
A: The key is to combine solid theoretical knowledge with lots of hands-on practice. I found that working through real circuits, troubleshooting common faults, and timing myself during practice runs helped me get comfortable with the exam format.
Don’t just memorize schematics—build and test them. Also, simulate exam conditions to reduce anxiety. Bringing a checklist of tools and components you’re allowed to use can save precious minutes on exam day.
Q: What common mistakes should I avoid during the practical exam?
A: One major pitfall is rushing and skipping double-checks. In my experience, wiring mistakes and misreading component values happen most when you’re under pressure.
Take a moment to verify connections and measurements before moving on. Another mistake is neglecting safety protocols—always power down before modifying circuits.
Lastly, don’t ignore neatness; examiners appreciate tidy wiring and clear labeling, which reflect your professionalism and attention to detail.
Q: How can I stay calm and confident during the exam?
A: Confidence comes from preparation but also mindset. When I felt nervous, I reminded myself that the exam tests skills I’ve practiced countless times. Deep breaths and a positive self-talk helped me stay focused.
Breaking the exam into smaller tasks rather than viewing it as one huge challenge made it manageable. Also, keeping hydrated and taking short mental breaks between tasks can prevent burnout and keep your mind sharp throughout the session.